
In case you haven’t heard yet, Microsoft has rebranded Team Foundation Server (TFS) to Azure DevOps Server. It’s a new name for the same good but of-course not old product. I mean this new version have lots of new features too 😊
In this article we will be looking it how to install Azure DevOps server 2019 in your own environment.
There are many ways you can install azure DevOps server depending on your integration and scalability requirements. If you want to integrate it with other family products from Microsoft you will need couple of more installations or if you need to serve more users you will need to scale out and add more servers. For the beginners in mind and for the sake of simplicity we will keep it to bare minimum. This basic setup will be more than enough for more than 100 users to serve and we can always change the topology later to meet our growing needs.
Let’s look at the infrastructure topology required to install Azure DevOps server. First off-course we need a server to install Azure DevOps Server. This is the application tier which host Azure DevOps server, windows service, Web services and the web portal for your users. Portal is basically an asp.net web site running under IIS on windows server that let users interact with azure DevOps Server from the browsers. Web services are hosted to let users interact with azure DevOps server from Visual studio, Office and many 3rd party applications.
Next is the database where Azure DevOps store all the data. You do lot of stuff with azure DevOps server. Writing user stories, pushing the code to repo, using collaboration features to communicate with team, defining build or release automation templates or configuring your project, teams or other objects and more, everything you do with this tool is logged and stored in a database. It uses SQL server to store all of this data and information.
It creates separate database for each project collection. Project collection is simply a collection of projects that we create in Azure DevOps server. We will talk more on it later.
You will need to install SQL server Database before installing Azure DevOps server. Both database and application server can be load balanced for scalability just like any other web server or database. Every Azure DevOps Project is created in a project collection and you can have multiple collections. Each collection has its own physical database created in SQL server. There is 3rd physical component involved in this topology the build server. This is the server where you install agents to build and deploy your code. Build involve compiling your application code, running unit tests, code scans or anything else you want to make part of your build process. This is the same build process that you run on your local machine such as compiling a asp.net application in visual studio and running unit tests if needed. The only difference is that you run the same process in this case visual studio on the server that pull the latest code from any repo and build it on the server. For stability, you can have as many agents you want on servers and as many servers you want to build your applications. For better performance, I recommend installing each agent on a separate drive and math the number of agents with server cores on this machine. We will discuss more on build agents in our coming section Continuous Integration builds with Azure Pipelines.
Before you can create a Azure DevOps Project you will create a Project collection. There are many reasons why would you need a separate collection for some of the projects. One example could be if you want to isolate the development of some projects because you have outsourced the development to some 3rd party vendor or you have sold your business to someone else and want to physically move all of your projects to their instance of Azure DevOps server. However, for easy administration its best to keep all of your code in one project or at least one collection if possible. This way you will avoid lot of overhead to maintain multiple collections and it will be lot easier for accessing cross project information in one place. Once you have your Project created you will create further isolation by creating teams and iterations. We will see how to setup this hierarchy later.
Next, we will see the demo of installing azure DevOps server.
There are 3 steps we have to take to setup azure DevOps Server.
First Azure DevOps Server installer first prepares the server reviewing system requirements. If everything is good then is kick off the Installation the second step. Azure DevOps Server installer extract the setup files on your server and runs an installer. The 3rd step is Configuration and FYI, this can be done anytime later. You don’t have to do all in one go. In this last configuration step you configure the installed features. Basically, you launch a configuration wizard, if you have closed it you can relaunch it by clicking Azure DevOps admin console from the start menu. This wizard runs some checks to make sure that your system meets the requirements and your selected configurations are likely to work. If there are any issues, one or more warnings or error messages will be displayed that you will need to be resolved. Otherwise it finishes setting up Azure DevOps server.
Azure DevOps server 2019 can be installed on Windows 10, Windows Server 2012 or above but I will be using Windows Server 2019 for the demo. Before we install the Azure DevOps server, I recommend installing a developer or standard version of SQL server yourself rather than using default SQL Server express. SQL Server Standard license is included when you purchase Azure DevOps server. So, I don’t see any reason why you should not use it.
I will be installing SQL Server 2017 but SQL Server 2016 SP1 can also be used for Azure DevOps server 2019 in case you are already running is in your organization and want to use it to avoid the additional cost. I recommend always install latest supported version of SQL server because the support for older SQL Server version is dropped each year with every major release of Azure DevOps Server.
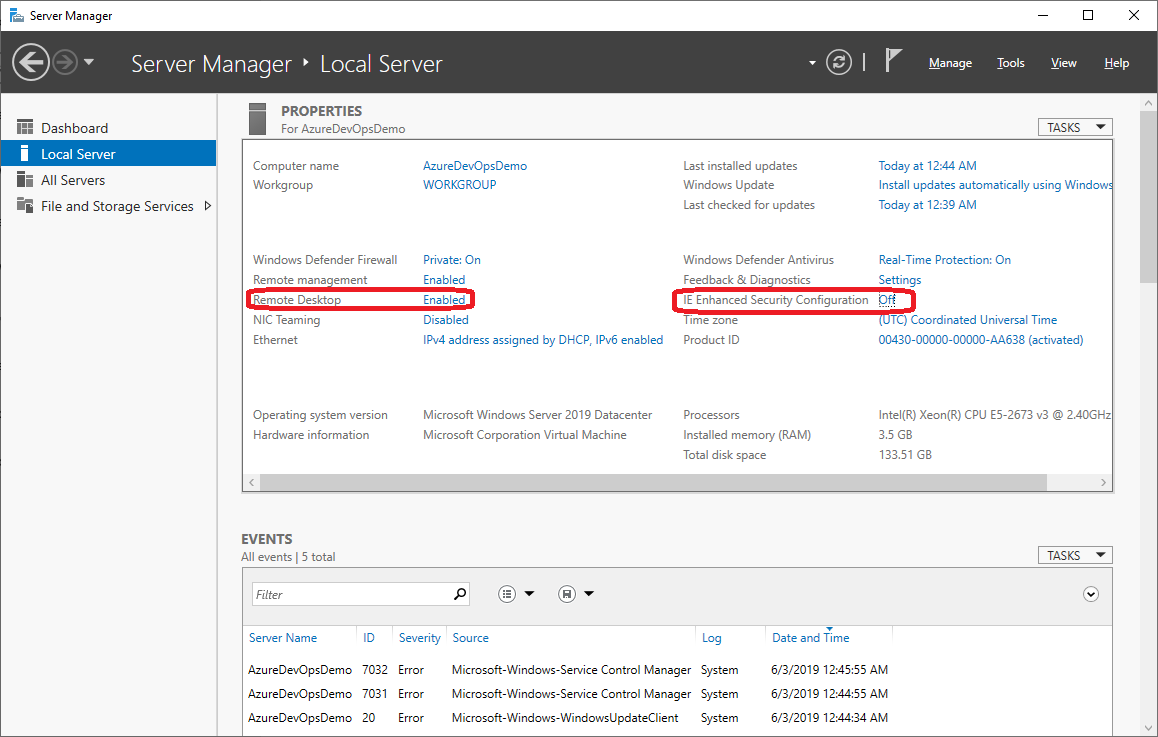
First thing first, login to server as admin. I am using a virtual machine on azure but that can be anywhere including in your on-prem environment. make sure you install windows updates to make sure your servers is patched and updated. You may consider to turn off IE Enhanced security configuration in server manager in case you want to browser Azure DevOps server locally from browser. Just don’t go to other nasty sites to get your server infected with virus.
Also, if not already enabled make sure you have enabled the remote desktop service on this server to you can access the server for server administration.
Download the ISO image file of SQL server 2017 https://www.microsoft.com/en-au/sql-server/sql-server-downloads and Azure DevOps server https://azure.microsoft.com/en-gb/services/devops/server either from public site or from you MSDN subscription if you have already. I will recommend to download from MSDN subscription if possible. This keeps licensing and everything else simple and easy.
Right click the ISO file for SQL server 2017 and select mount.

This will open all the files inside the image for you. If you are older version of windows and don’t see the mount option then you may need to install a mounting software such as power ISO. Anyway, double click the setup.exe file.
And this will open the installation wizard.
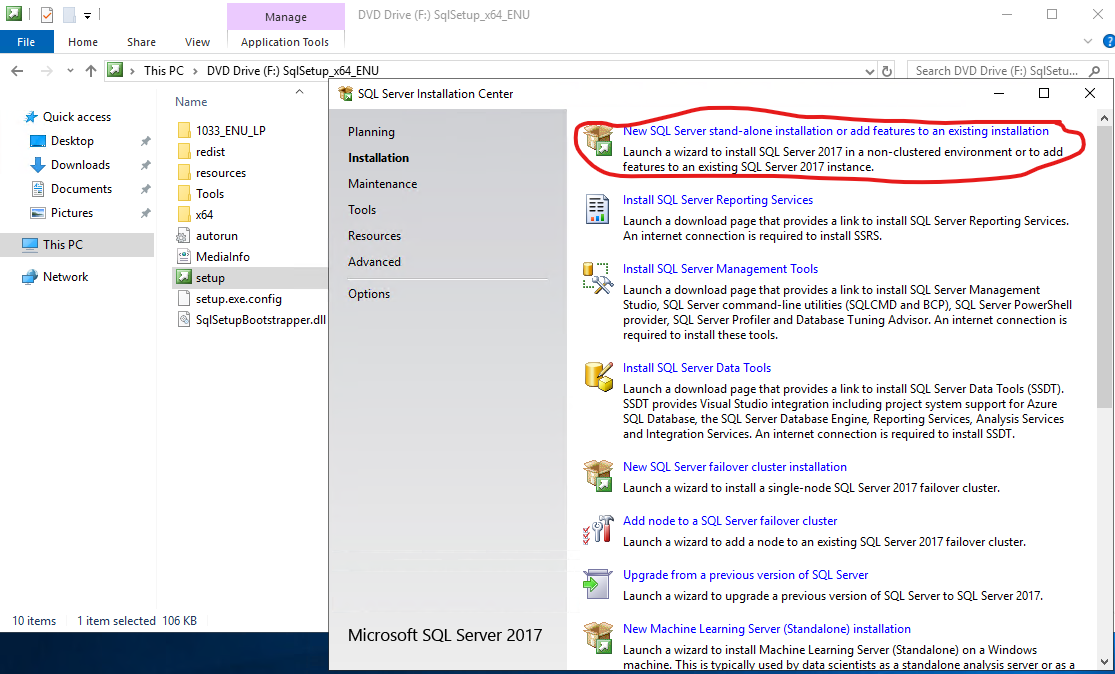
On the top left, click the Installation link then Click New SQL Server stand-alone installation or add features to an existing installation
Enter your product key if not already populated.
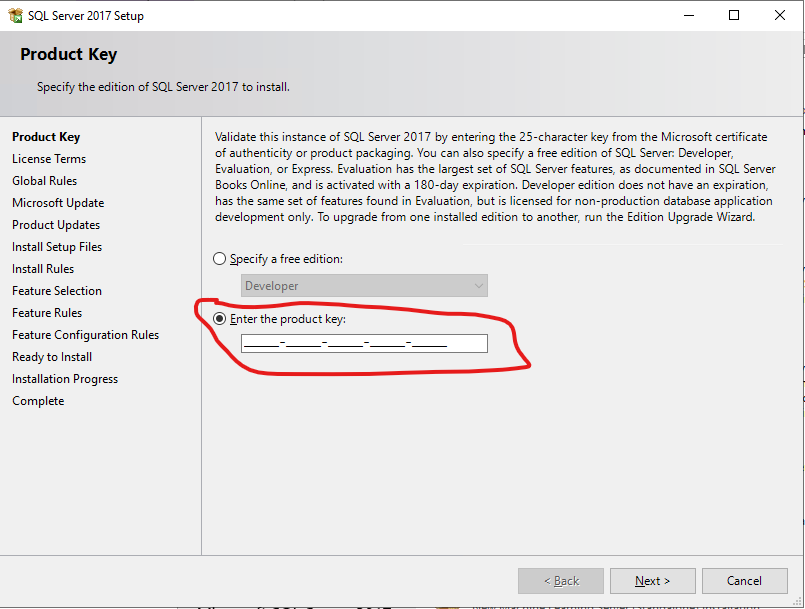
Click Next, Accept the license terms
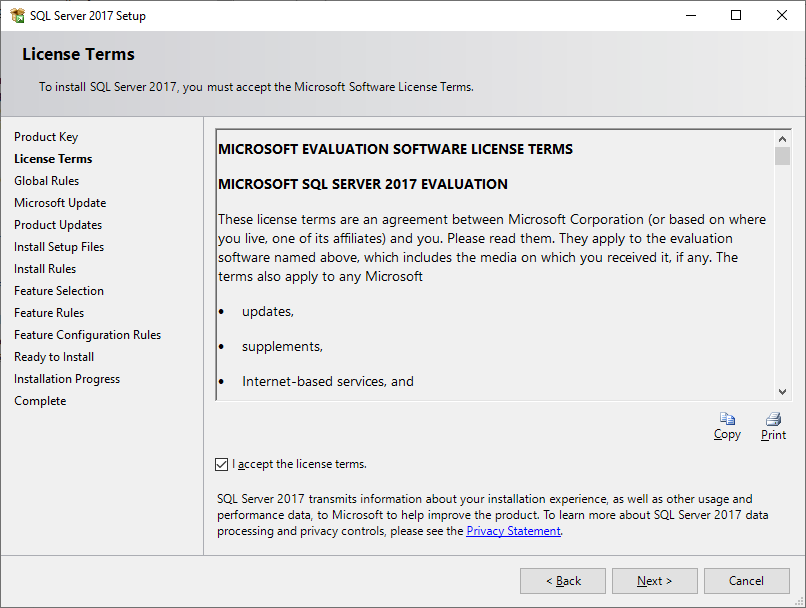
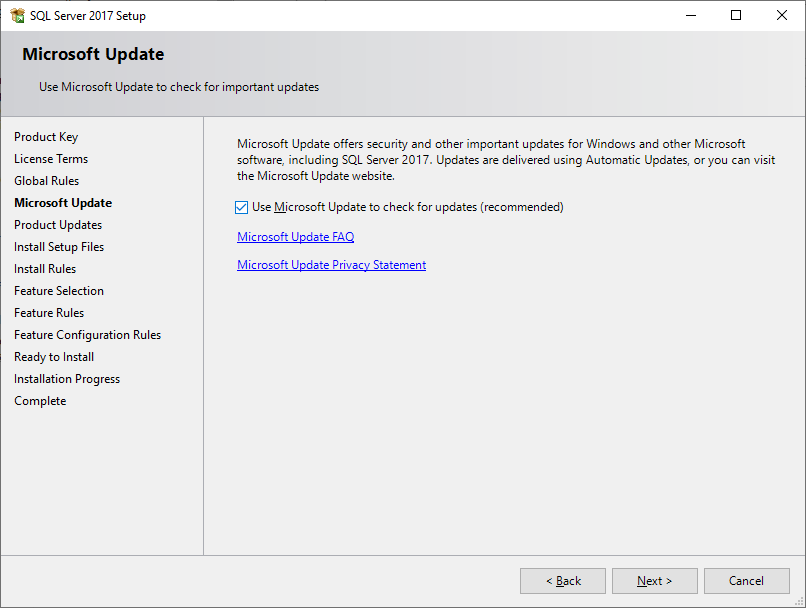
Tick the box to check updates.
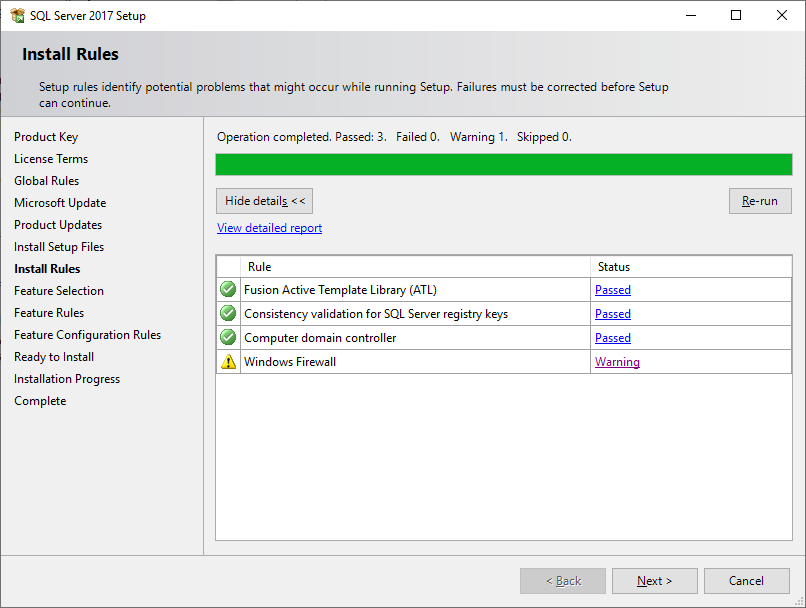
Make sure all rules are passed. You can ignore the windows Firewall warning for now. You can allow SQL server port by adding outbound rule in windows later if you need to.
On Feature Selection page
Check the checkbox for
Database Engine Services
Full-Text and Semantic Extractions for Search
If you are planning to run Azure DevOps Server and SQL Server on separate machines, check the checkbox for Client Tools Connectivity
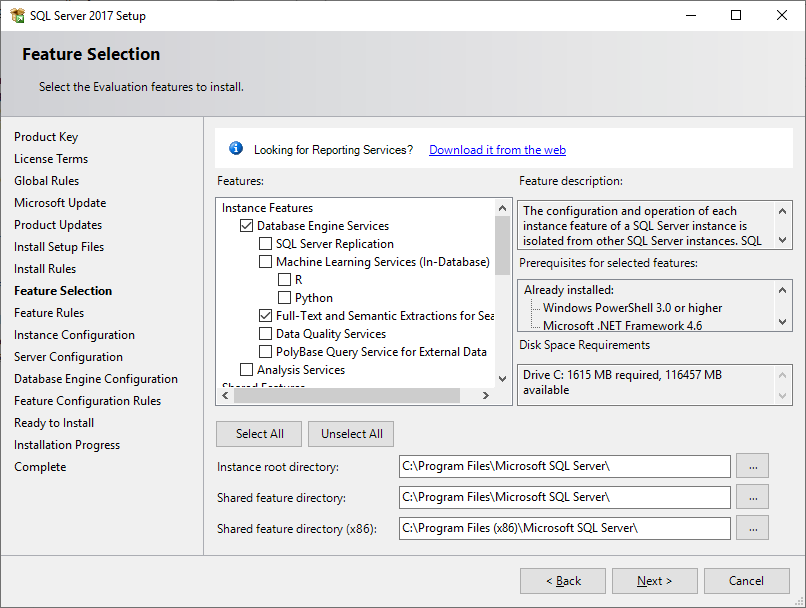
BTW you might want to install the management studio on the server if you wish to access the database locally from the same server. This is handy if you are limiting your database access locally or to some specific machines like azure devops server app tier. Any way.
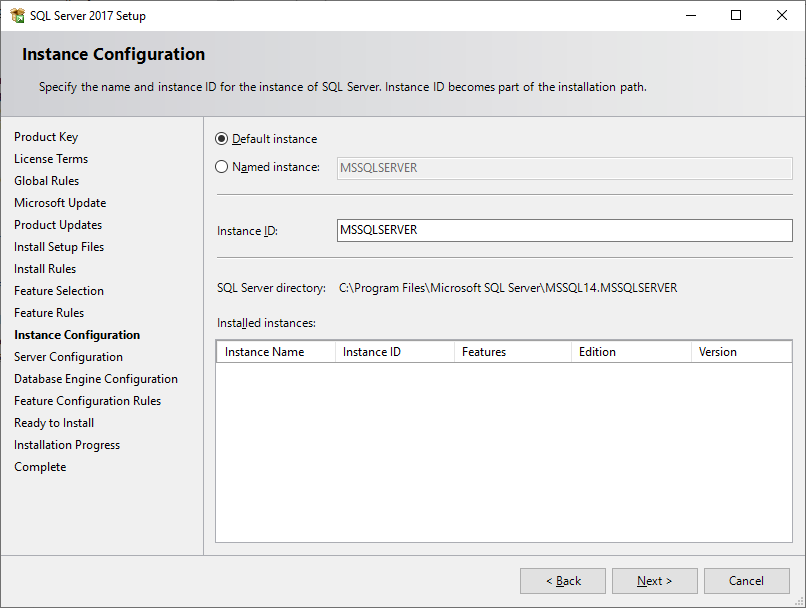
Click next on Instance Configuration page
Set startup Type to Automatic for each service except full-text search.

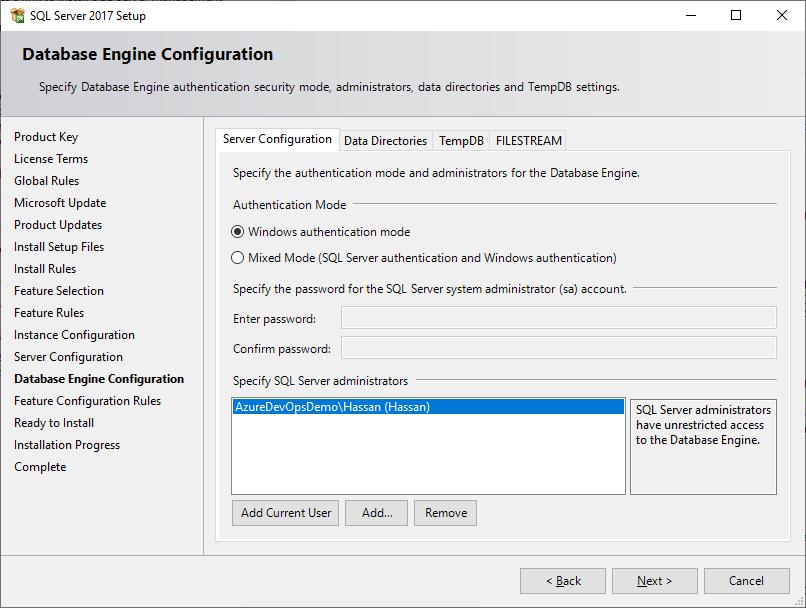
On Database Engine Configuration page specify who should be an administrator on your new SQL Server instance. Click the Add Current User button if you want to add currently logged in user as admin or Click the Add button to search users in Domain if you want to add someone else as admin. Don’t worry you can add more admin users later too.
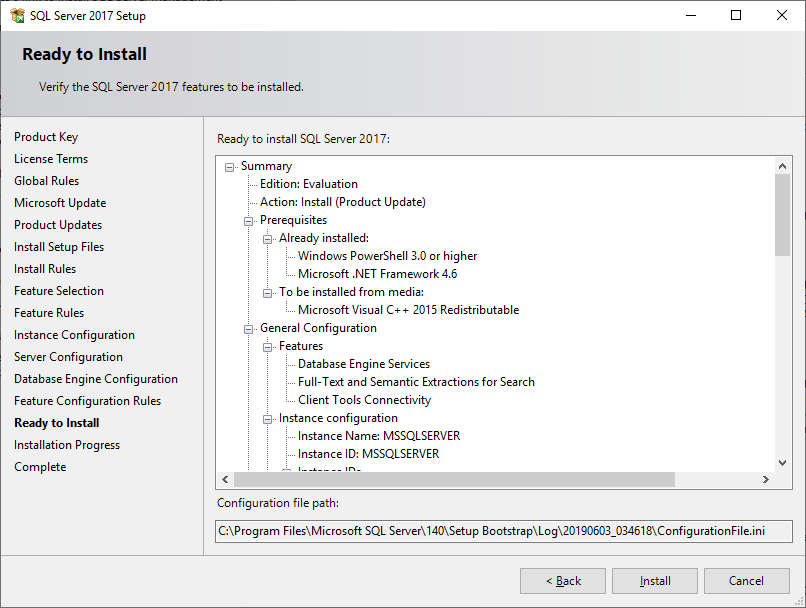
Next on ready to install page you will see the summery of your selection and what you are going to install.
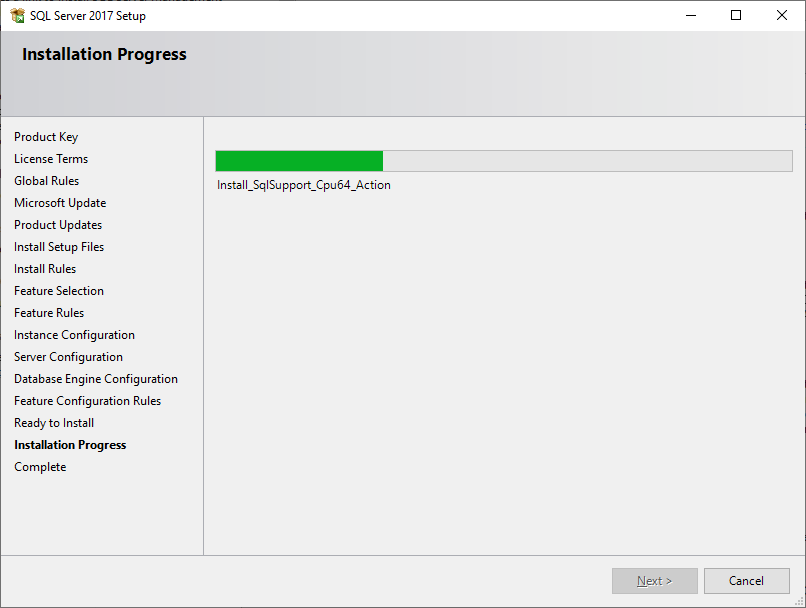
Waite for the installation to finish.
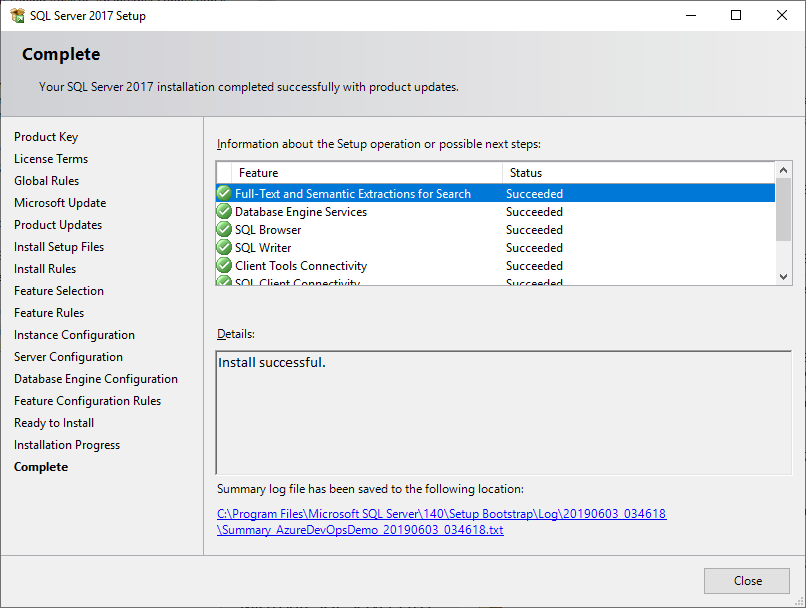
You will see the final complete window and hopefully all installs were successful. Click close button to close the window.
Now that SQL Server 2017 is installed, we can install Azure DevOps Server 2019. Just like SQL server Mount the ISO image you downloaded and double click the exe setup file for azure DevOps server.
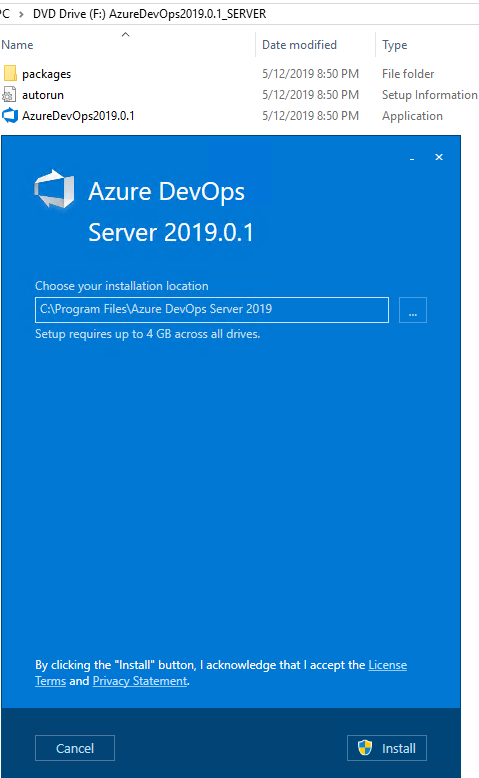
Click Install button.
If you are prompted with User account control dialog click yes to proceed and installation will begin.

This took me 7 minutes but will depend on your server performance.
After installation is complete you will need to configure the server. To do so you can click the Start Wizard button or if you want to do it later you can always open the Azure DevOps Administration Console from star menu. If its not already configured it will show the link Configure Installed Features to open the same Server Configuration Wizard.
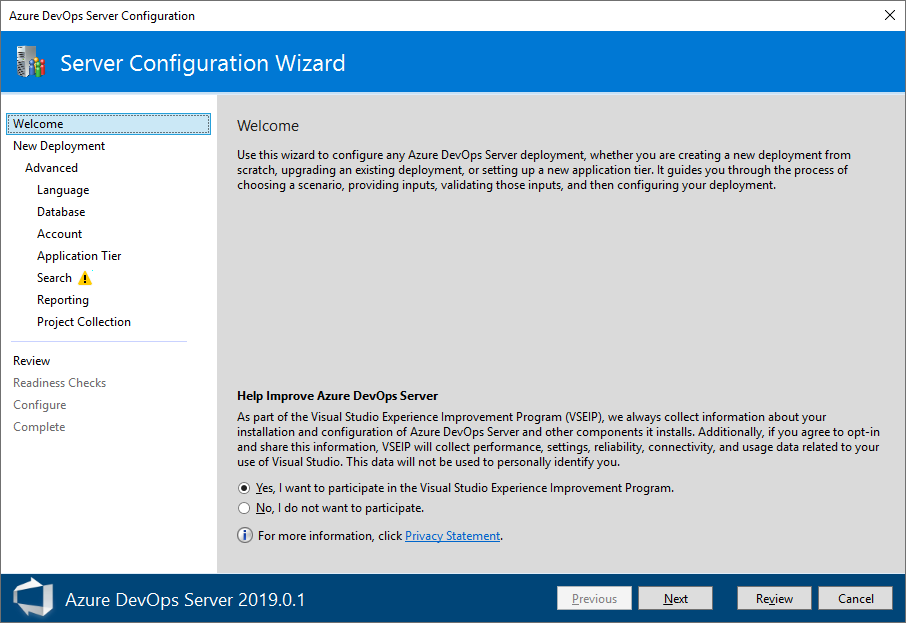
As you can see on the left you have 3 options. In addition to Azure DevOps server you can also chose to install proxy server or code search on any machine if you want to. We will be focusing on installing Azure DevOps server so Select Configure Azure DevOps Server from the top left and then click Start Wizard button.

Click next
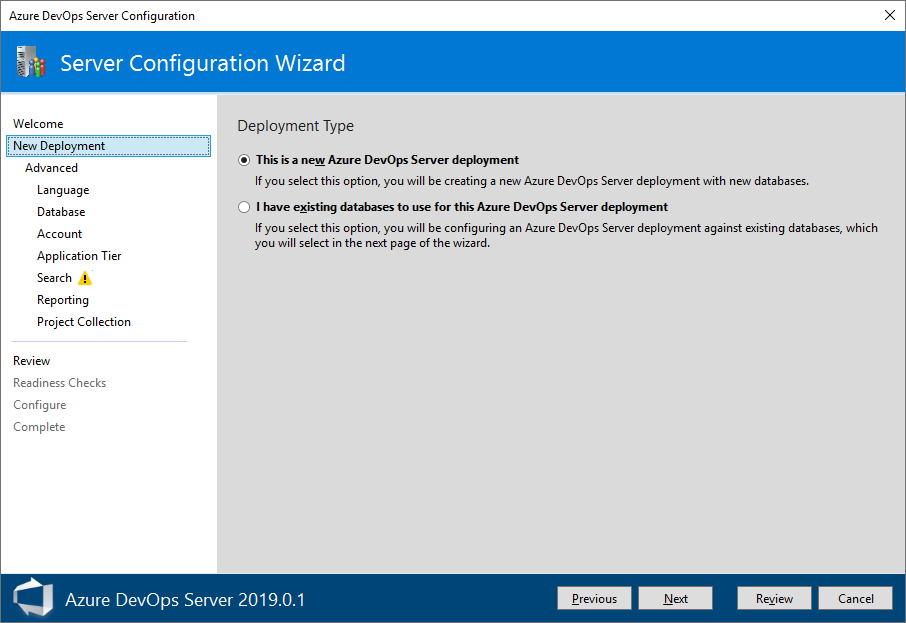
You will move to New deployment tab.
On the Select your deployment scenario page, select “This is a new Azure DevOps Server deployment”
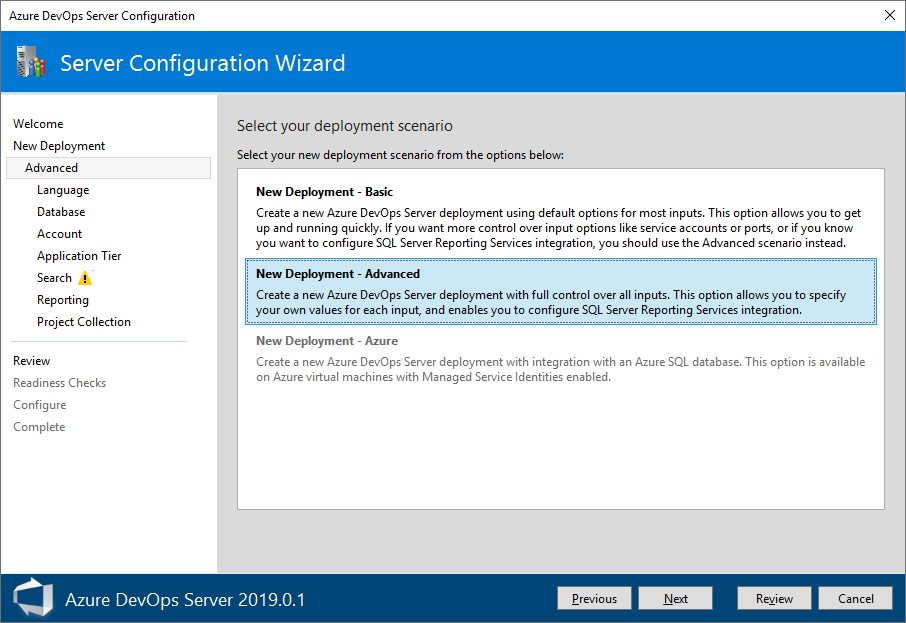
Select New Deployment – Advanced and Click Next
Choose your language and Click Next

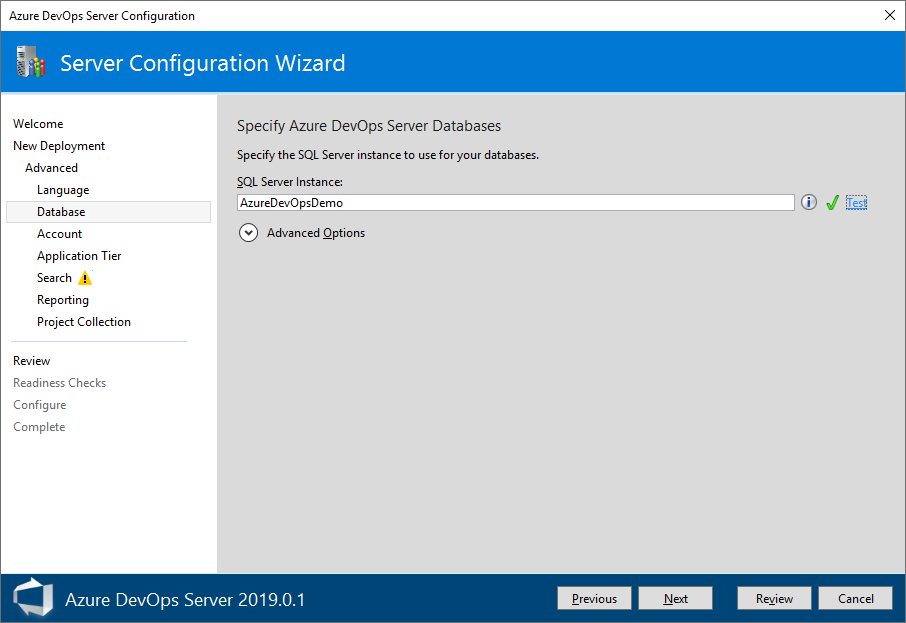
Select Use an existing SQL Server Instance. Then, choose Next.
Enter your database information such as your domain, IP or server name. As we have installed database on the same server, we can use the machine name or just “.” To point to the local instance. Click the Test link to verify. Then choose Next.
Next in-Service Account page. You can select a system account but I won’t recommend that. You should have a dedicated domain or local account for azure DevOps service so you can manage the security of deployments, and automated testing and also it helps in debugging as you can see the account name in logs in case of any issue. I will be using local account but if you have domain account use domain account. Select use a user account and then enter user name and password. Click the test link to verify information. Click next.

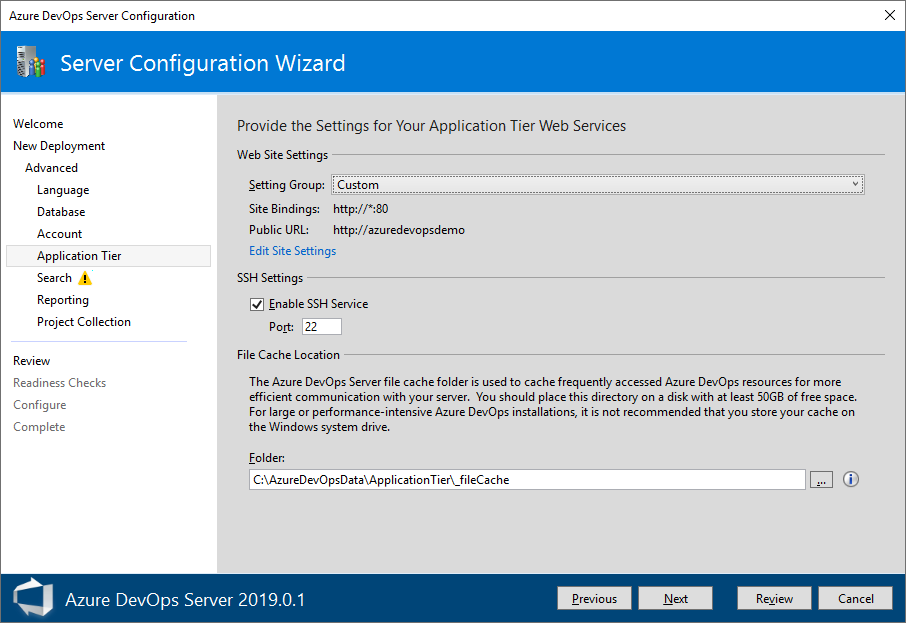
Now we need to configure the application tier for IIS. You have some options about configuring SSL with but for the sake of simplicity we will skip SSL for now. The default option should be Custom leave it as is.
Leave the Enable SSH service box ticked.
For File Cache Location you may need to select any other drive then system C drive as these files can grow very quickly and eat lot of disk space.
24
Next is Search settings. Code Search is optional and can be installed on any other server to offload some work from the main server. If you want to install it on another server then install it on other server first and then come back here to specify URL. Or you can configure it later in admin console by just skipping it and un checking the box to install and configure search service. I will cover this for the sake of demo so enter the path for search index. Again you may chose other then system drive to same space on C drive. Enter user name password of your choice. This is not the domain or windows account. It’s the account that will be created for code search. Click next.
25

Next is reporting and it’s a lot of overhead and little value at the beginning. When you have lot of data that you want to make sense of came back and enable this feature. For now lets skip it and leave that check box unticked. Click next.
26

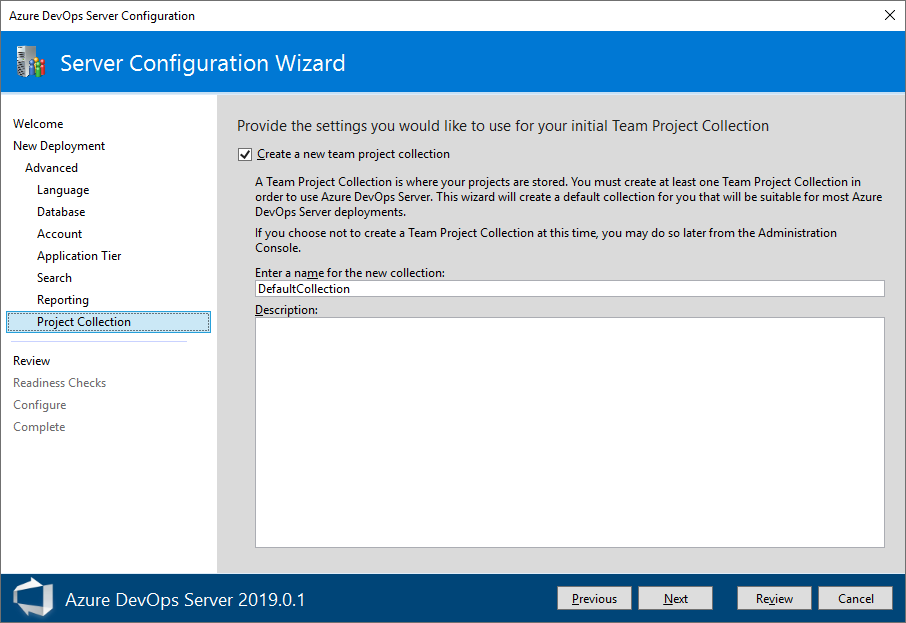
Next is Project collection. Tick the box to create project collection. You will need at least one collection to create your project in. you can create more collections if you need in admin console.

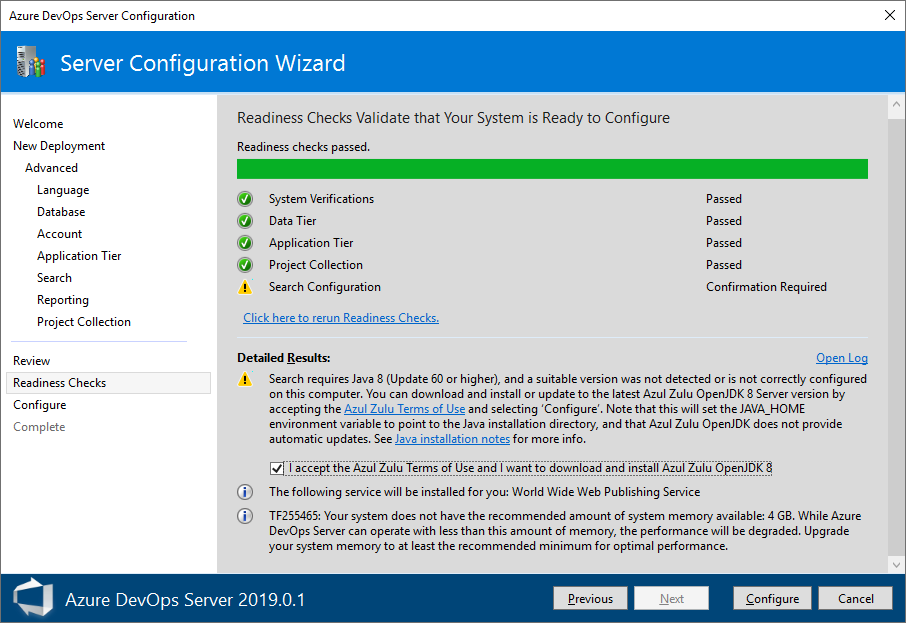
Next you will review so click review button to let it verify if everything is in order.
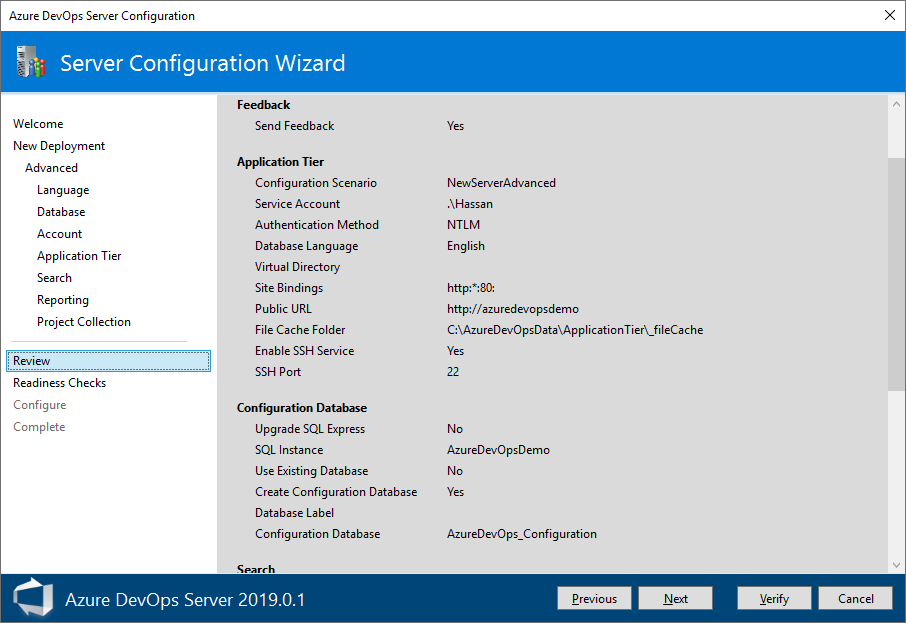
You will see a warning to accept Azul Zulu terms for java 8 which is required to install code search. Tick that box and click configure.
29
Now it will be configuring the azure DevOps server for you.
30

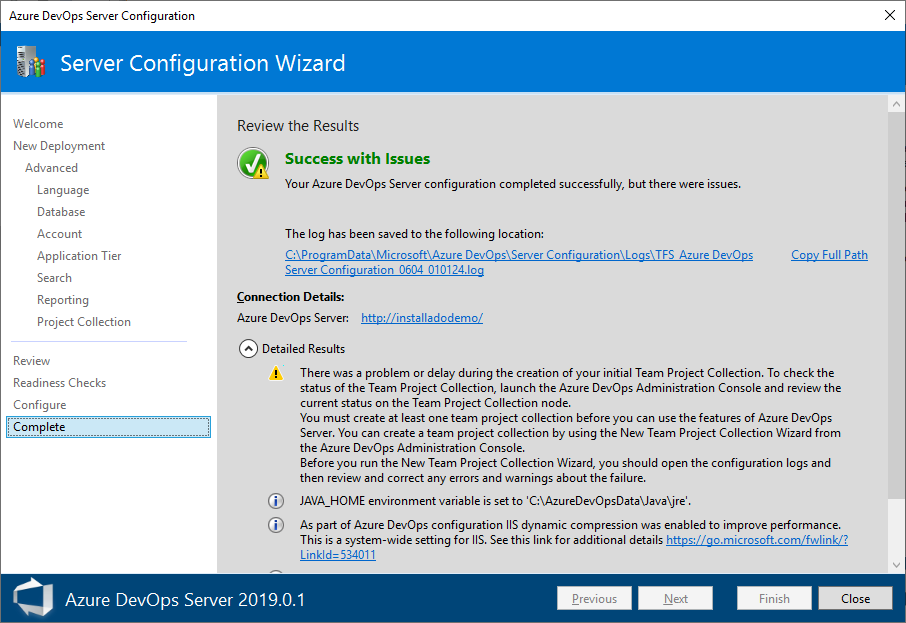
It took around an hour to complete the setup, perhaps due to code search addition but we finally made it.
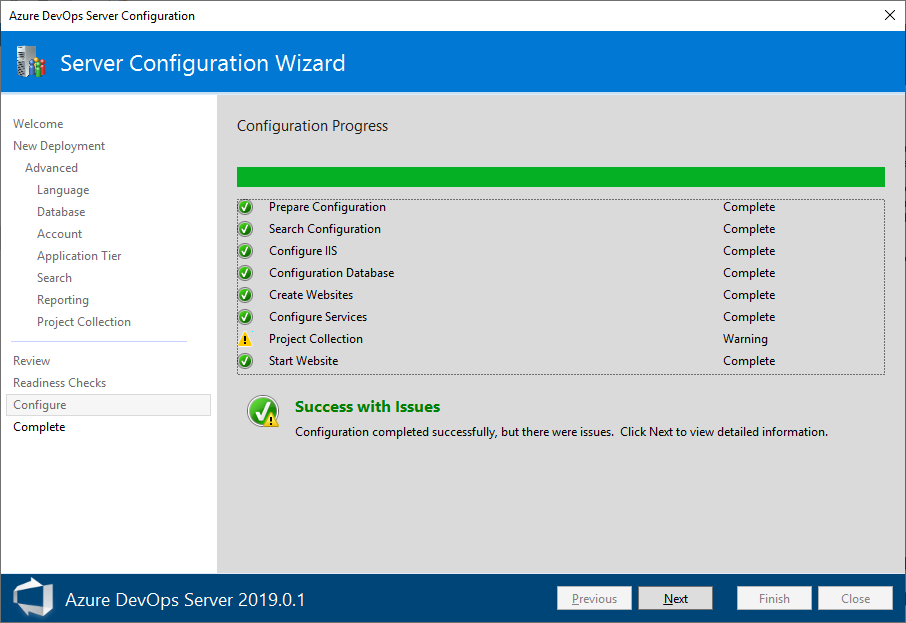
You may see some warnings like below.
Want to see all of this in action? Here is the demo I have recorded for you.
Make sure you test accessing azure devops server from the portal before announcing the party to your team 🙂
